Original article: https://appuals.com/fix-you-cant-install-windows-on-a-usb-flash-drive-using-setup/
This error appears when users are trying to either upgrade from an earlier version of Windows to Windows 10 or Windows 8.1 or if they are trying to update their operating system using recovery media stored on a USB flash drive.
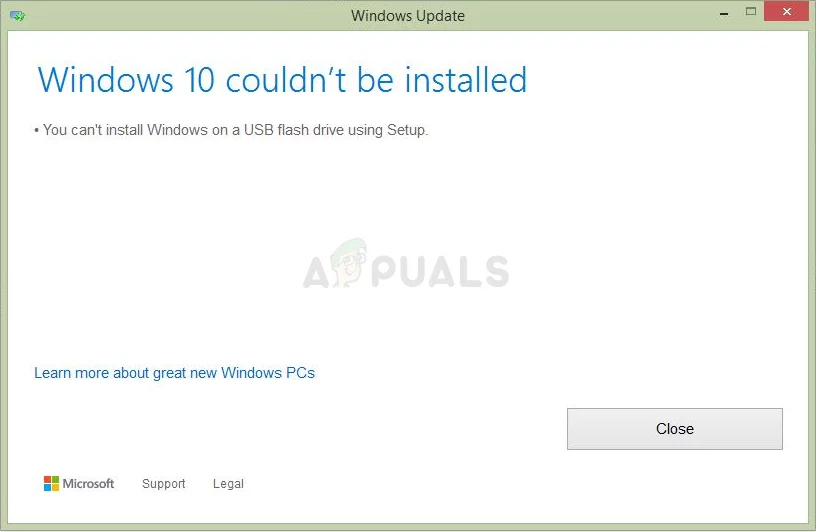
In other cases, the error appears even if users try to update their computer regularly using Windows Update without a USB device with Windows recovery media installed on it. Either way, we have prepared several methods which should take care of the problem quite easily if you follow the instructions carefully!
What Causes the “You can’t Install Windows on a USB flash Drive Using Setup” Error?
Windows Update errors are generally difficult to find a cause for and this problem is no exception, especially when you consider the fact that it can appear out of nowhere, even without the existence of a USB flash drive to cause the error. Still, here is a list of the most common causes:
- A faulty registry key may fool your operating system into thinking it’s a portable version which can further lead to other errors such as the one described in this article.
- Partition management is yet another cause for people who are trying to install a fresh copy of Windows. The partition where you want to install the OS must be marked as active.
Solution 1: Change a Registry Entry
The first solution on our list is quite easy to perform and it provides a quick fix as all you need to do is to change the value of a registry entry related to your operating system. Still, as editing the registry can be dangerous and lead to system instability, you should definitely make sure to use precaution.
Since you are going to edit a registry key, we recommend you check out this article we have published for you to safely backup your registry to prevent other problems. This way you can easily revert the changes you have made if something goes wrong.
- Open the Registry Editor window by typing “regedit” in either the search bar, the Start menu, or the Run dialog box which can be accessed with the Windows Key + R key combination. Navigate to the following key in your registry by navigating at the left pane:
HKEY_LOCAL_MACHINE\System\CurrentControlSet\Control
- Click on this key and try to locate a REG_DWORD entry called PortableOperatingSystem at the right side of the window. If such option exists, right-click on it, and choose the Modify option from the context menu.

- In the Edit window, under the Value data section change the value to 1 or 0 depending on the current state, and apply the changes you have made. Confirm any security dialogs which may appear during this process.
- You can now manually restart your computer by clicking Start menu >> Power button >> Restart and check to see if the problem is gone.
Solution 2: Mark the Partition as Active
This method is highly useful to users who are trying to install a fresh copy of Windows on their computer. The partition where you wish to install the operating system must be set as active which can be done by following the set of steps below:
- Open the Disk Management utility by searching for it in the Start menu or the search bar and clicking the first option.
- The alternative is to either use the Windows Key + X key combination or right-click on the Start menu and choose the Disk Management option in order to open its console.

- Locate the partition you want to make active (the one where your operating system is installed or the one where it will be installed). Right-click on it and choose the Mark Partition as Active option from the context menu.

- Confirm any dialog prompts and confirm your changes. Restart your computer and check to see if the “You can’t install Windows on a USB flash drive from Setup” error message still appears.
Solution 3: Reset Windows Update Components
The first method in this article is the most successful one and the second one is great for cases where the first method fails. However, this doesn’t take away the fact that this method is a generally useful way of dealing with most update-related issues on Windows PCs. It’s a somewhat lengthy method, to be honest but it will make it worth your while!
- Let’s start with the method by shutting down the following services which are the core services related to Windows Update: Background Intelligent Transfer, Windows Update, and Cryptographic Services. Shutting them down before we start is very important if you want the remainder of the steps to perform without errors.
- Search for “Command Prompt” either right in the Start menu or by tapping the search button right next to it. Right-click on the first result which appears at the top and select the “Run as administrator” option.

- Users who are using an older version of Windows can use the Windows Logo Key + R key combination in order to bring up the Run dialog box. Type in “cmd” in the box and use the Ctrl + Shift + Enter key combination in order to run Command Prompt as an administrator.
- Copy and paste the command shown below and make sure you click the Enter key on your keyboard.
net stop bits net stop wuauserv net stop appidsvc net stop cryptsvc

- After this step, you will have to delete some files if you want to continue with resetting the update components. This should also be done via Command Prompt with administrative privileges. Run this command:
Del “%ALLUSERSPROFILE%\Application Data\Microsoft\Network\Downloader\qmgr*.dat”
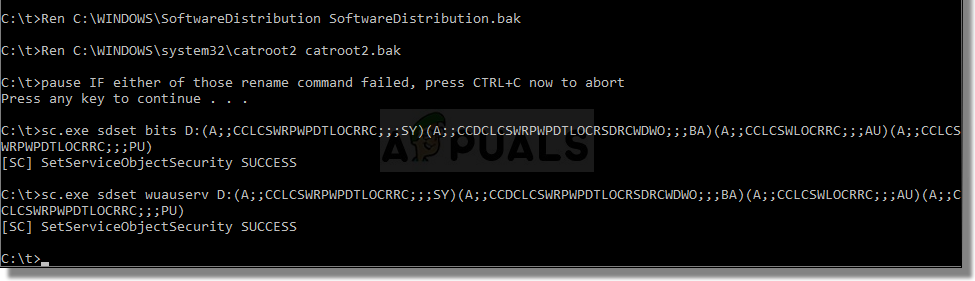
- Change the name of the SoftwareDistribution and catroot2 In order to do this, at a command prompt with admin privileges, copy and paste the following two commands and click Enter after copying each one.
Ren %systemroot%\SoftwareDistribution SoftwareDistribution.bak Ren %systemroot%\system32\catroot2 catroot2.bak
- Let’s navigate back to the System32 folder in order to proceed with the final part of this method. This is how to do so in Command Prompt.
cd /d %windir%\system32
- Since we have completely reset the BITS service, we will need to reregister all of the files necessary for this service to run and operate properly. However, each of the files requires a new command in order to make it reregister itself so the process may end up being quite long. Copy the commands one by one and make sure you don’t leave out any of them. You can find the complete list if you follow this link in a Google Drive file.
- The next thing we are going to do is reset Winsock by copying and pasting the following command back into the administrative Command Prompt:
netsh winsock reset netsh winhttp reset proxy

- If all of the steps above have gone through painlessly, you can now start the services you closed in the first step by using the commands below.
net start bits net start wuauserv net start appidsvc net start cryptsvc
- Restart your computer after following through with the steps provided and try running Windows Update again. Hopefully, you will now be able to avoid the annoying error message.